Page 1 of 9

Cherry Buster Build Thread

PostPosted: Fri Nov 30, 2012 9:23 am
by cajone5
This thread is being made to provide a place for folks to document their builds and a place to ask technical questions. I will start it off by providing the build docs and reference materials for folks.

I haven't finished the wiring diagram and need to confirm a few things before I upload that. For now, the schematic, parts list and some reference info are included below.

Good luck and take your time, trust me, it will save you from having to debug later :laughing7

Image

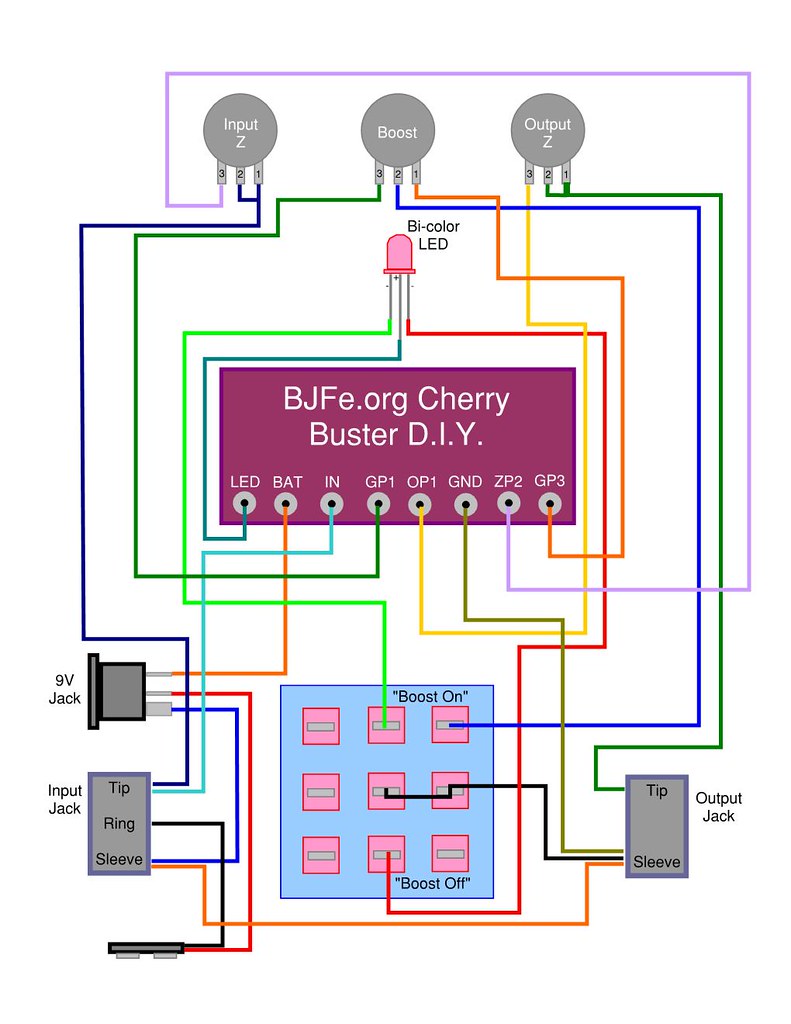
Wiring Diagram for Common CATHODE LED
Image

Wiring Diagram for Common ANODE LED
Image

Image

Image

Re: Cherry Buster Build Thread

PostPosted: Fri Nov 30, 2012 3:03 pm
by Your name here
Yay! I'll be starting on this tomorrow night!

Re: Cherry Buster Build Thread

PostPosted: Sun Dec 02, 2012 2:42 am
by thesjkexperience
Does it matter what you put together first? Or, is there a set order like resistors first then caps, trannys, pots, etc?

I fixed the footswitch on my MHvT yesterday, so I am building up my confidence! :laughing7

Re: Cherry Buster Build Thread

PostPosted: Sun Dec 02, 2012 3:08 am
by cannikin
It's best to do smallest to large. Resistors, diodes, IC socket, smaller caps then large. Make sure you don't solder the IC socket with the IC in the socket :angryfire

Re: Cherry Buster Build Thread

PostPosted: Tue Dec 04, 2012 5:29 pm
by cajone5
All great advice :)

Another suggestion -- TAKE YOUR TIME! Seriously, I never do and I've made silly mistakes on nearly every pedal I've built :banghead

Wiring diagram (which probably could have been planned out better :confused2 ) is now included in the first post!
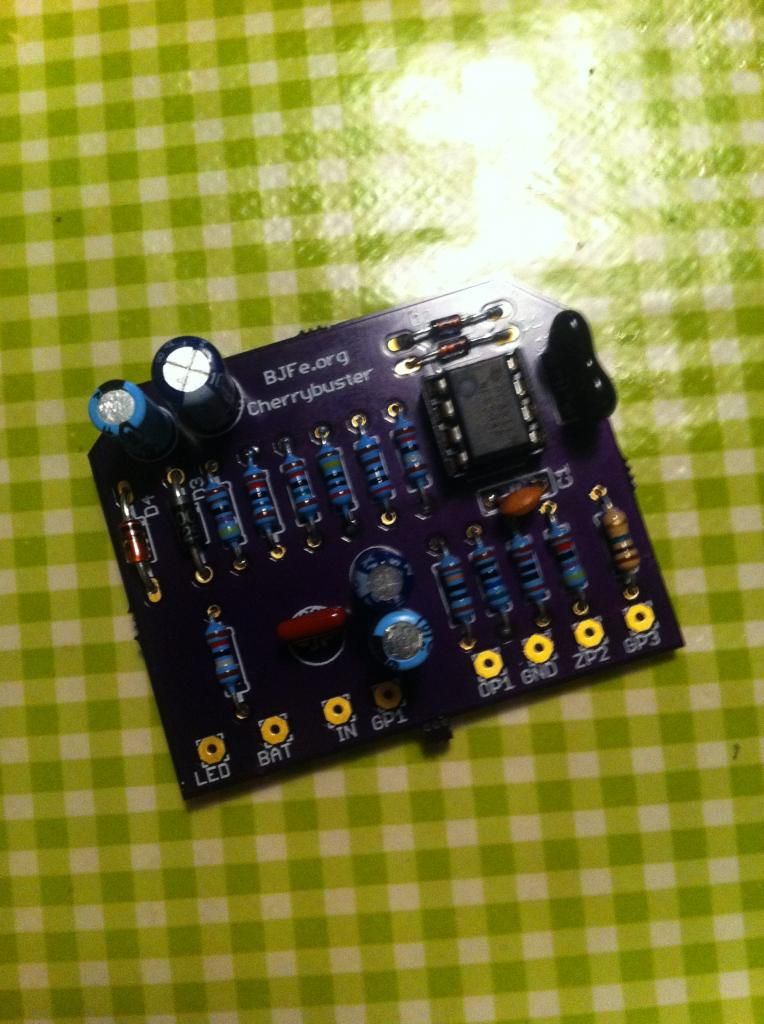
Annnnd here we go!

Re: Cherry Buster Build Thread

PostPosted: Tue Dec 04, 2012 7:21 pm
by OhMyDear
Buster building! This is how I think you should do it! (But It´s probably not the best way ;).)

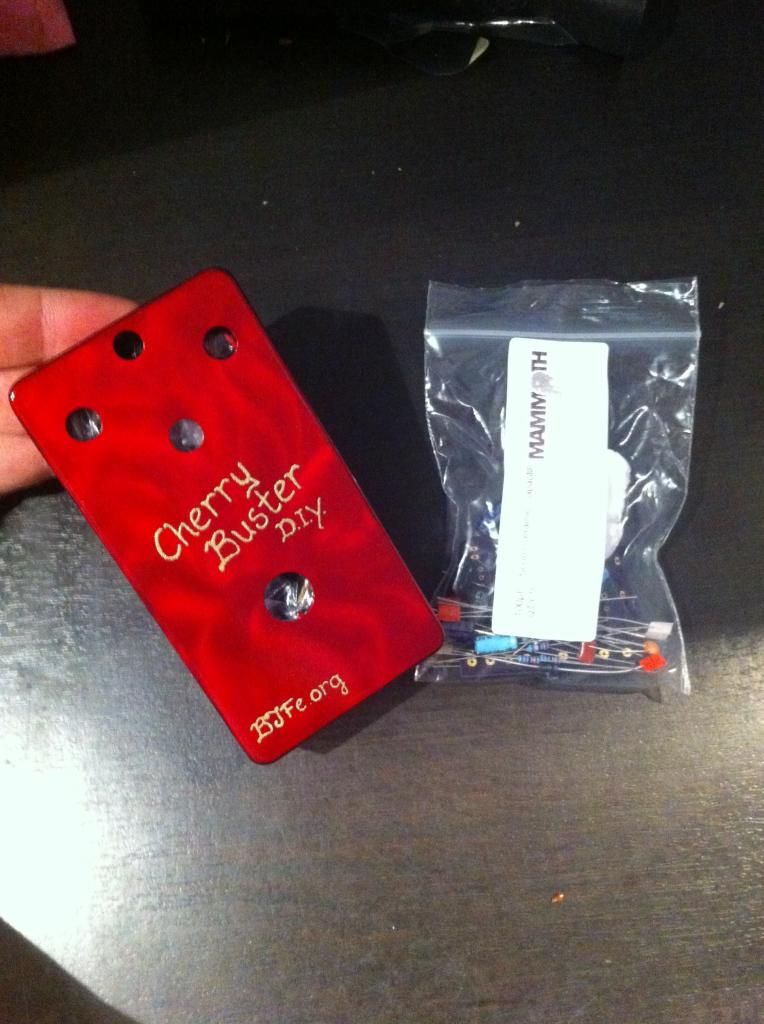
Unpack your beautiful Buster!
Image

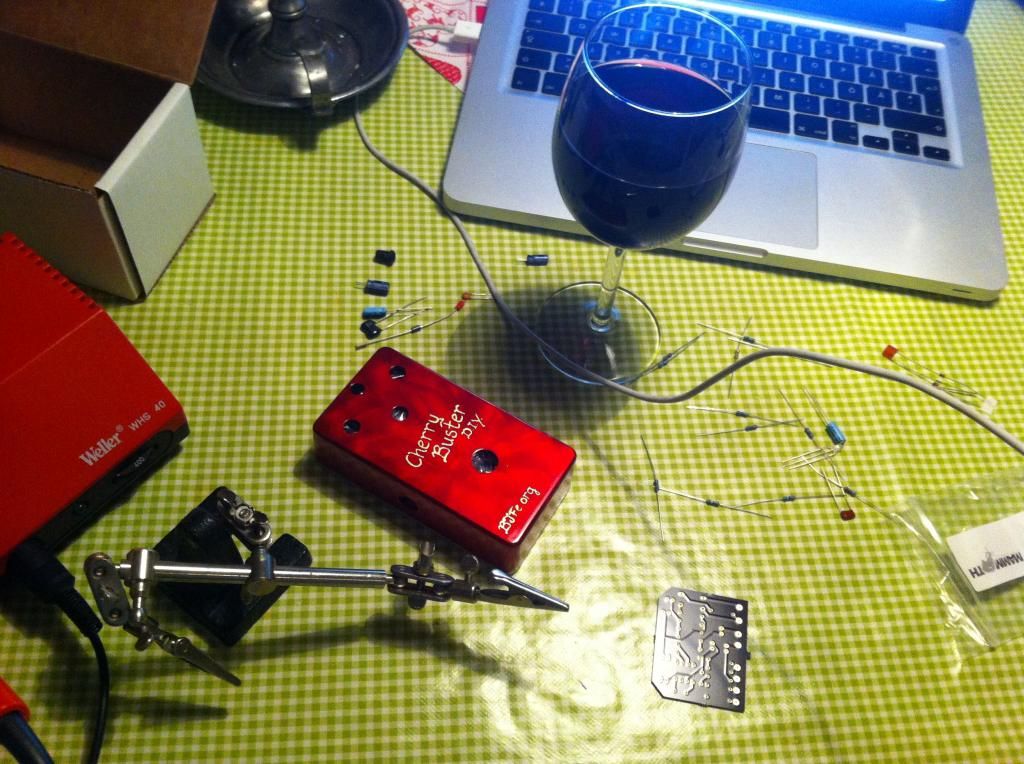
Throw everything on the table and poor yourself a glass of wine.
Image

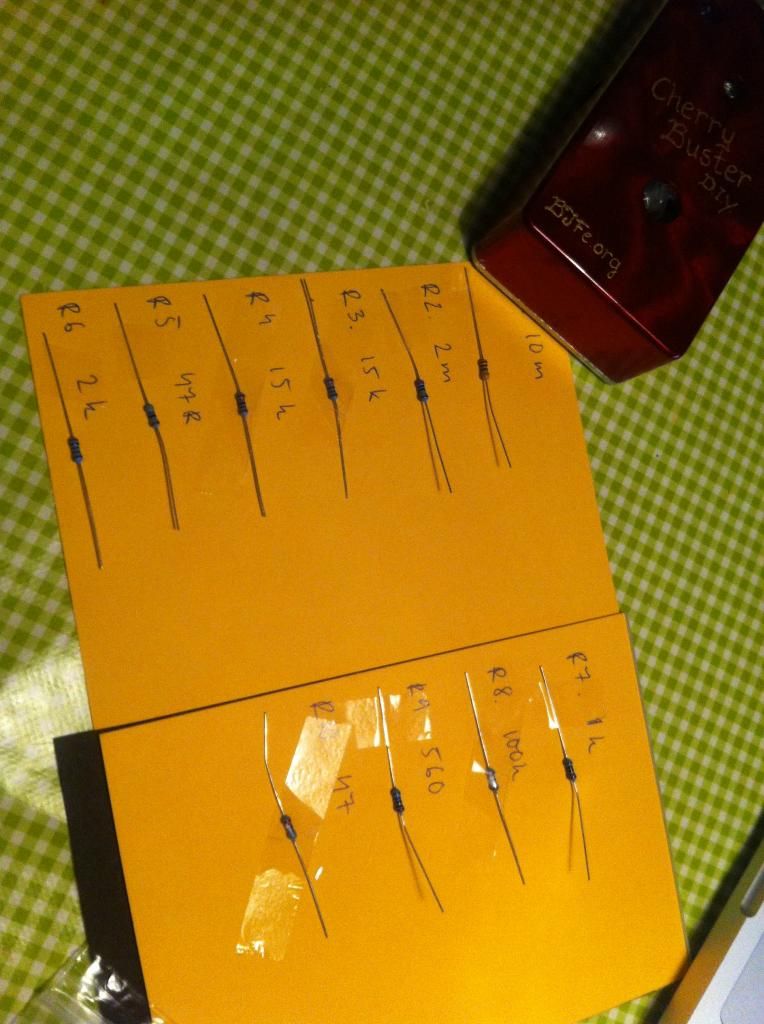
Mark all the resistor up so you get a good overview. Take a sip of your glass of wine.
Image

Solder everithing to it´s place and hope everything will turn out ok!
Image

Sip some more wine.

Re: Cherry Buster Build Thread

PostPosted: Tue Dec 04, 2012 7:26 pm
by OhMyDear
BTW, doesn´t the IC direction matter?

Re: Cherry Buster Build Thread

PostPosted: Tue Dec 04, 2012 7:29 pm
by cajone5
OhMyDear wrote:BTW, doesn´t the IC direction matter?


Yes, it does. Orient it with the dot in the upper left corner. :thumbup:

This appears to be how you already have it in your photo :clap:

OhMyDear wrote:Solder everithing to it´s place and hope everything will turn out ok!
Image


By the way, this looks awesome :thumbup: You seem like you've done this before... :love4

Re: Cherry Buster Build Thread

PostPosted: Wed Dec 05, 2012 9:10 am
by OhMyDear
I´ve done it a few times. Can´t get the led to work though! It´s always something ;). It sounds great! I´ll upload some other bouild pics later on!

Re: Cherry Buster Build Thread

PostPosted: Wed Dec 05, 2012 9:57 am
by cajone5
OhMyDear wrote:I´ve done it a few times. Can´t get the led to work though! It´s always something ;). It sounds great! I´ll upload some other bouild pics later on!


Well, I think I know what the problem is. My wiring diagram may be wrong as I haven't gotten to use the bicolor LED yet and am not sure if it's common cathode or common anode. If it's common cathode, the wiring diagram is correct. If you followed that and your LED won't work then try the following wiring diagram for a common anode LED.

Changes are...
-- Center lug of switch goes to LED pad
-- Center LED leg goes to ground

Sorry for making you the guinea pig :banghead

Image

Please let me know if this fixes it.