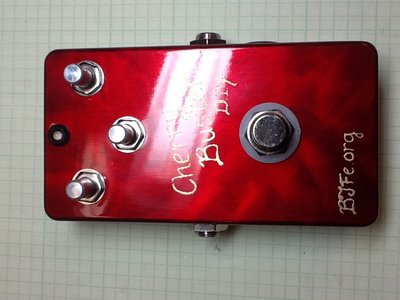
Page 5 of 9

Re: Cherry Buster Build Thread

PostPosted: Thu Jan 03, 2013 11:06 am
by ak47
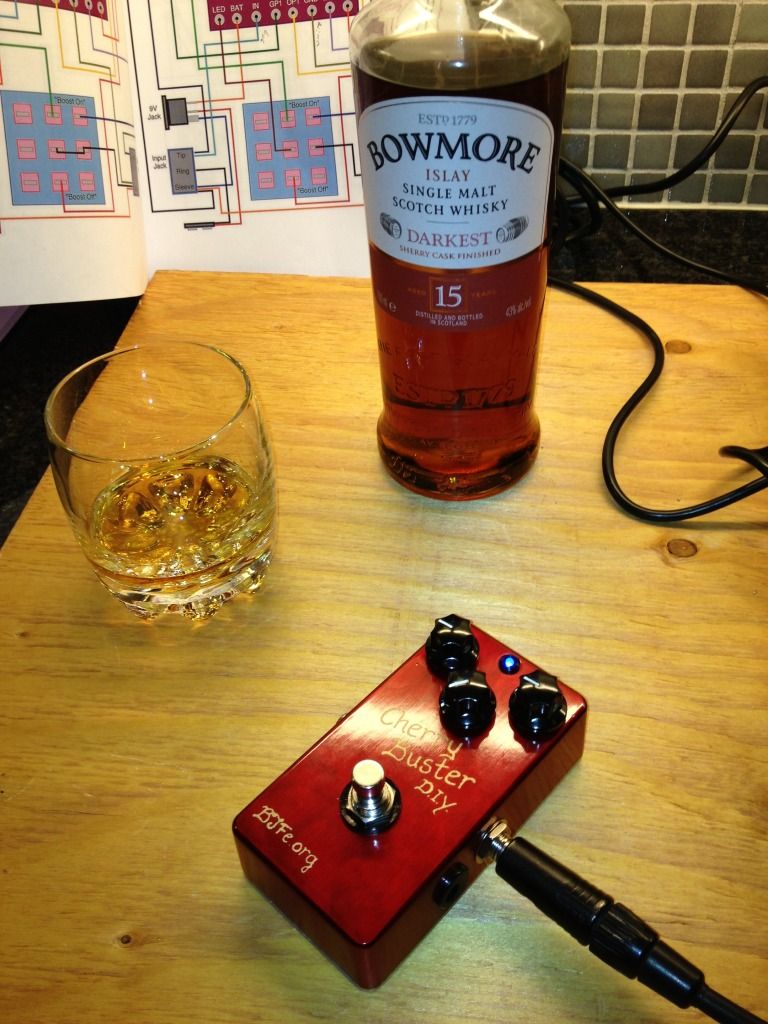
Here we go... Thanks for the tip about prepping the caps Gnash... I was quite happy with how the board turned out given how small and fiddly things are!

So I gave mine a serial number.. #CB018 ('Cherry Buster' of course plus I was number 18 on the final list). I then decided it just had to have some artwork inside the back plate... a kind of cherry bomb explosion... oh yeah, I wrote 'Handmade in Sweden' inside the back plate too because I made it by hand and yeah... I am in Sweden :mrgreen:

First impressions... it actually works!!! No kidding, I feel quite proud of myself... I ran it into my EGDM and I liked the boost immediately... the effect on my pick attack was just what I was hoping for! It is really nice on a clean guitar too... fattening things up. Can't wait to try it with a really pushed amp.

Anyone know how much db boost there is? I used a 9v battery today but was also wondering what sort of voltages the CB can handle?
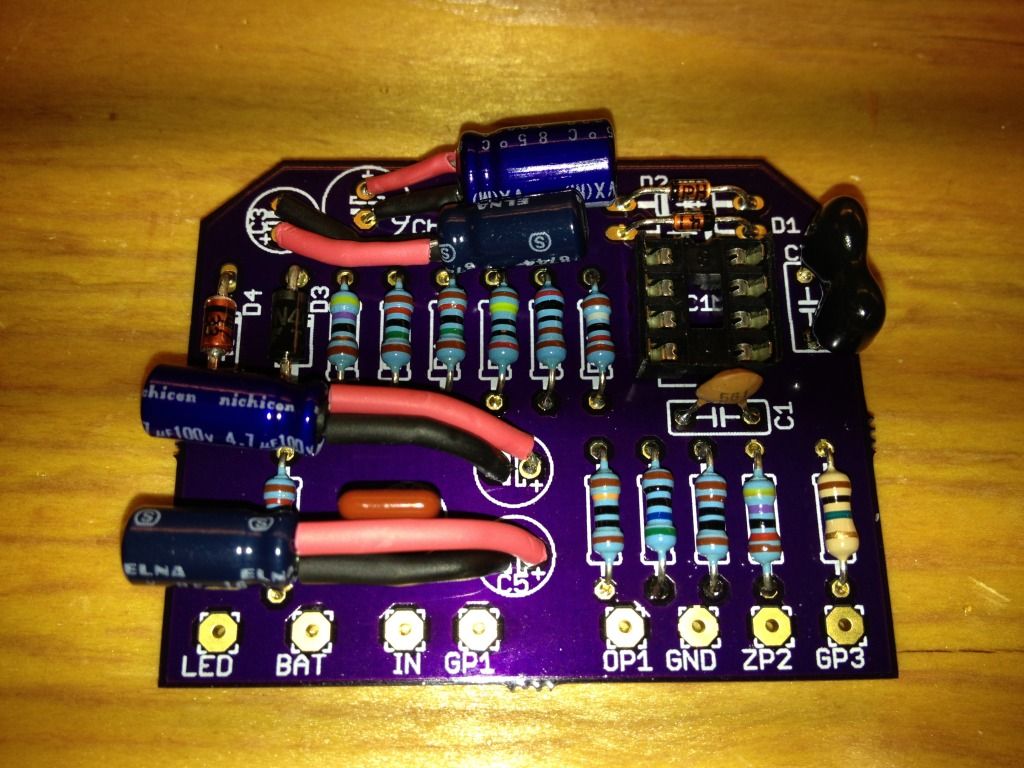
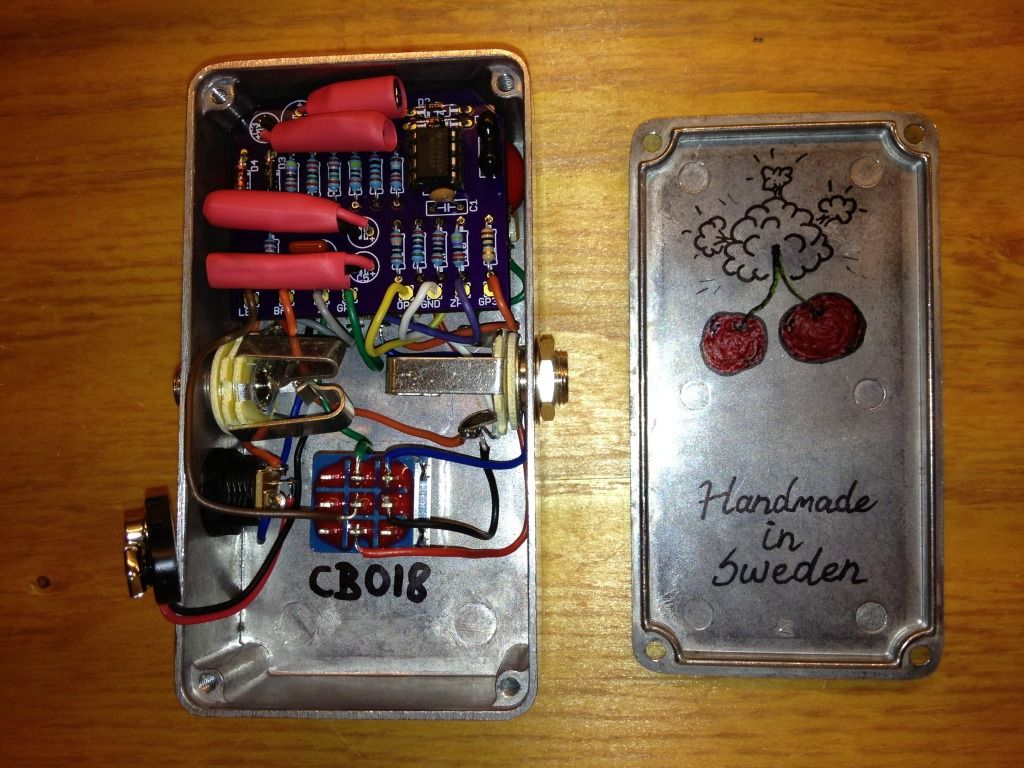
Image

Image

Image

It has been snowing today so I opted for something a bit more warming to celebrate with :music

Re: Cherry Buster Build Thread

PostPosted: Sat Jan 12, 2013 2:23 am
by gtrgeo
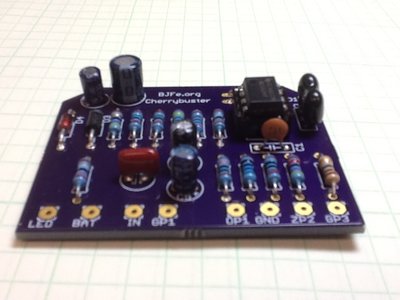
Well my kit sat idle through the holidays. After the new year i got to work as time allowed. Here is the pcb filled. You may notice I took a different path with the electrolytic caps.
image.jpg

Re: Cherry Buster Build Thread

PostPosted: Sat Jan 12, 2013 2:28 am
by gtrgeo
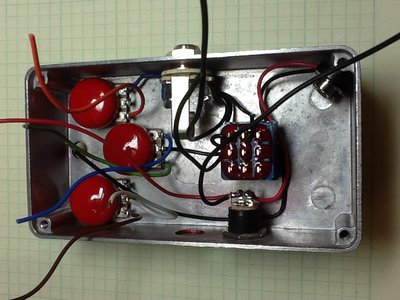
Here is the box partway through being wired up for the install of the pcb
image.jpg

Re: Cherry Buster Build Thread

PostPosted: Sat Jan 12, 2013 2:37 am
by gtrgeo
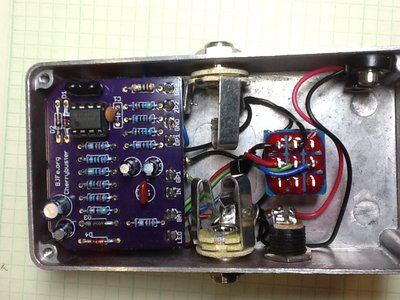
And here is the complete install.

image.jpg


I still need to pick up some knobs

image.jpg


I have not tried it at volume but it seemed to add a nice boost in front of my SHOD and the buffer helped to keep my vintage cry baby working in front of a fuzz face. Still need to play around with the I/O impedance to get a better idea of what they are doing for me. I could definitely hear the loading /unloading of my pickups when plugged direct to the input and rotating the input Z pot. The output pot, not so much.

Re: Cherry Buster Build Thread

PostPosted: Sat Jan 12, 2013 4:55 pm
by OhMyDear
gtrgeo wrote:I have not tried it at volume but it seemed to add a nice boost in front of my SHOD and the buffer helped to keep my vintage cry baby working in front of a fuzz face. Still need to play around with the I/O impedance to get a better idea of what they are doing for me. I could definitely hear the loading /unloading of my pickups when plugged direct to the input and rotating the input Z pot. The output pot, not so much.


I have the same experience. The input Z is really nice and useful but I can´t understand the output Z. I´ve tried it in alot of ways and can´t hear or feel anything! I have a problem with popping noise when I switch it on also. Any ideas of what could couse that!?

Re: Cherry Buster Build Thread

PostPosted: Sun Jan 13, 2013 12:19 am
by BJF
Hi,
Gentlemen beautiful builds everyone.

If switch pops then C5 could be leaky- measure voltage at footswitch relative ground.
Identify wires to points on board GP1,GP2,GP3 and verify that those are correct and there should be zero volts at GP1,GP2 and GP3 on the footswitch and on the board.

Note modern electrolytic capacitors do not take well to reverse voltage and may be damaged at less than a few percent reverse voltage visa vi Working voltage marking.

Some may remember making fireworks of Elkos and a battery........however modern capacitors like this can develop similar behavior as tantalum capacitors when those break and you can get a semiconductor joint e.g. a zener function or resistor or a combination.

Anyway it happens that electrolytics have a leakage current that is high enough to cause a pop and therefore one can limit R1 to 510K or 470K

Some 30 years ago in design one could actually count on the reverse voltage as percentage of
of stamped value Working voltage and you could find it in the data sheet of the relevant capacitor . :study


OK effect of OZ control vary greatly and can be very important with some fuzz designs ( if one would like to experiment with sound) but also when trying out cables for pedal boards there's a realtime experiment. It is not meant to be a drastic control but on some pedalboards I have seen built that I helped have fault finded I would have found use for both of these controls to make sound about the same bypass as through the pedalboard....desirable it would seem....

Voltage that CB can handle is easily 18V if Working Voltage on capacitors are the same as in schematic and you could run the IC at 36V if all capacitors are 50V types but be ware that higher output swing than 7V peak can be damaging to many amplifiers and accessories and this was a problem in some set ups back in the late 70's: musicians pumping to high voltage into amplifier inputs- Only try this if you can determine the safe input voltage the amplifier input can take

Have great fun :music
BJ

Re: Cherry Buster Build Thread

PostPosted: Sun Jan 13, 2013 4:27 pm
by OhMyDear
Thanks Bjorn!! :D :thumbup:

Re: Cherry Buster Build Thread

PostPosted: Mon Jan 14, 2013 10:52 am
by ak47
OhMyDear wrote:Thanks Bjorn!! :D :thumbup:

+1 from me! :pedallove

Re: Cherry Buster Build Thread

PostPosted: Mon Jan 14, 2013 11:58 am
by Donner
Excellent endeavor everyone !!!! Salut !

Re: Cherry Buster Build Thread

PostPosted: Sun Jan 20, 2013 3:47 pm
by ak47
I recorded a little demo together with some photos that I had from my CB build... I used a Gibson BFG --> PGC-CB-EGDM-Eventide TF-Boss RC-30 all run in stereo to a pair of vintage Hiwatts... I kick the booster in at around 0:47 for some extra hair :music