Page 4 of 9

Re: Cherry Buster Build Thread

PostPosted: Sun Dec 16, 2012 1:23 pm
by cajone5
mr. min t.fresh wrote:My kit arrived and it looks awesome! What is the difference between using the 2 LEDs sound wise? I'm new to pedal building and don't have a clue??

Thanks


The LED is just an indicator for boost on/off. There are two wiring diagrams depending on which scheme the LED uses, common cathode or common anode. The LEDs supplied with the kits are common anode from what I've heard from folks who've built the kit already. I just can't seem to find time for this one lately. Hopefully over the holiday break I can knock it out.
Re: Cherry Buster Build Thread

PostPosted: Fri Dec 28, 2012 5:54 am
by ak47
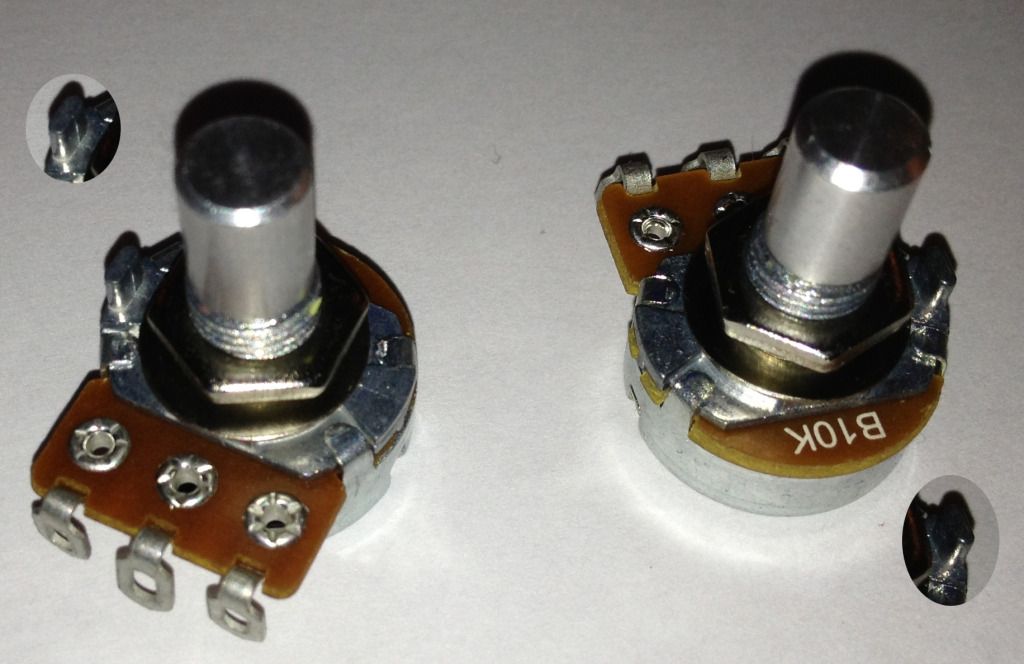
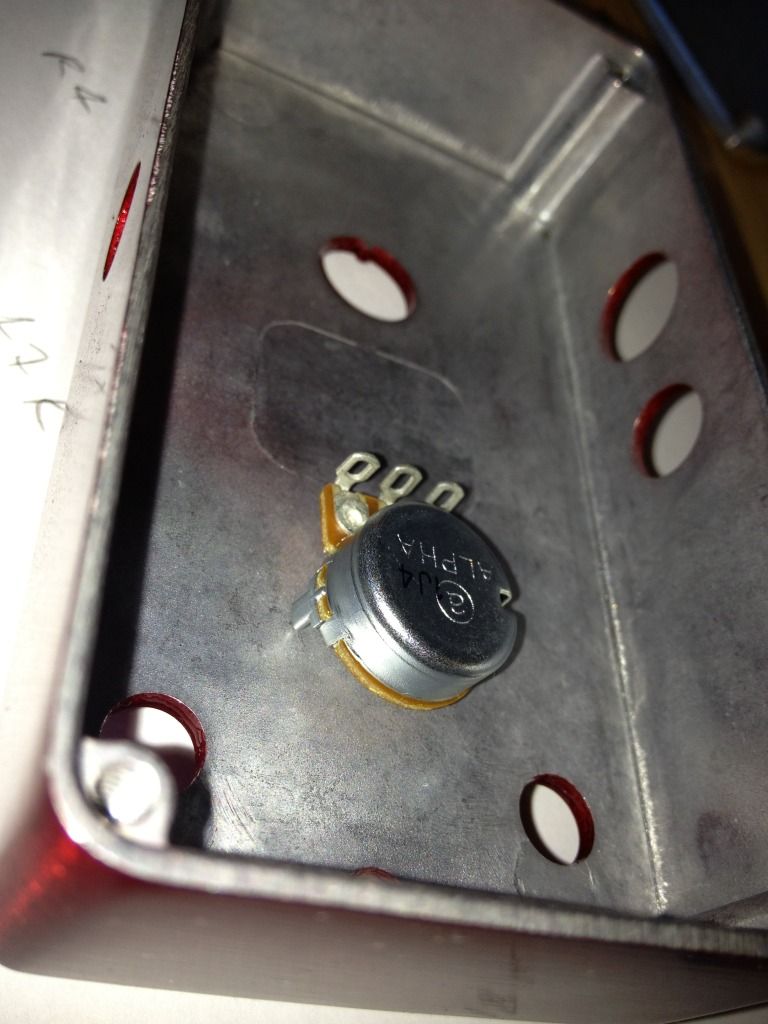
Ok... starting to get the ball rolling here... I would really appreciate if anyone who has already done the build or can help out please have a look here...

There is a lug on one side of the pots that causes them to sit lopsided in the case. Are these to be removed with pliers (giving a little extra space) or is it better to get another ringnut to put between the pot and the inside of the case to level it out? How have people been solving this?

Image

Image

Re: Cherry Buster Build Thread

PostPosted: Fri Dec 28, 2012 6:44 am
by Gnash
I usually nip them off with a pair of side cutting pliers mate. As long as your not overly rough you shouldn't damage the POT at all.

Re: Cherry Buster Build Thread

PostPosted: Fri Dec 28, 2012 7:18 am
by ak47
Thanks for the fast reply! :mrgreen: I have been reading up a bit... here is some more noob info... :mrgreen:

Resistors are not polarized so they can go in either way.

Diodes need to have the 'stripe' matched to the picture on the board.

The IC needs to have the notch matched to the layout and the dot is pin 1.

Film and ceramic capacitors are not polarized and can go in either direction.

Aluminium capacitors are polarized (usually says on the can but always long leg +ve / short leg -ve) and should match the layout.

Re: Cherry Buster Build Thread

PostPosted: Sun Dec 30, 2012 7:05 pm
by ak47
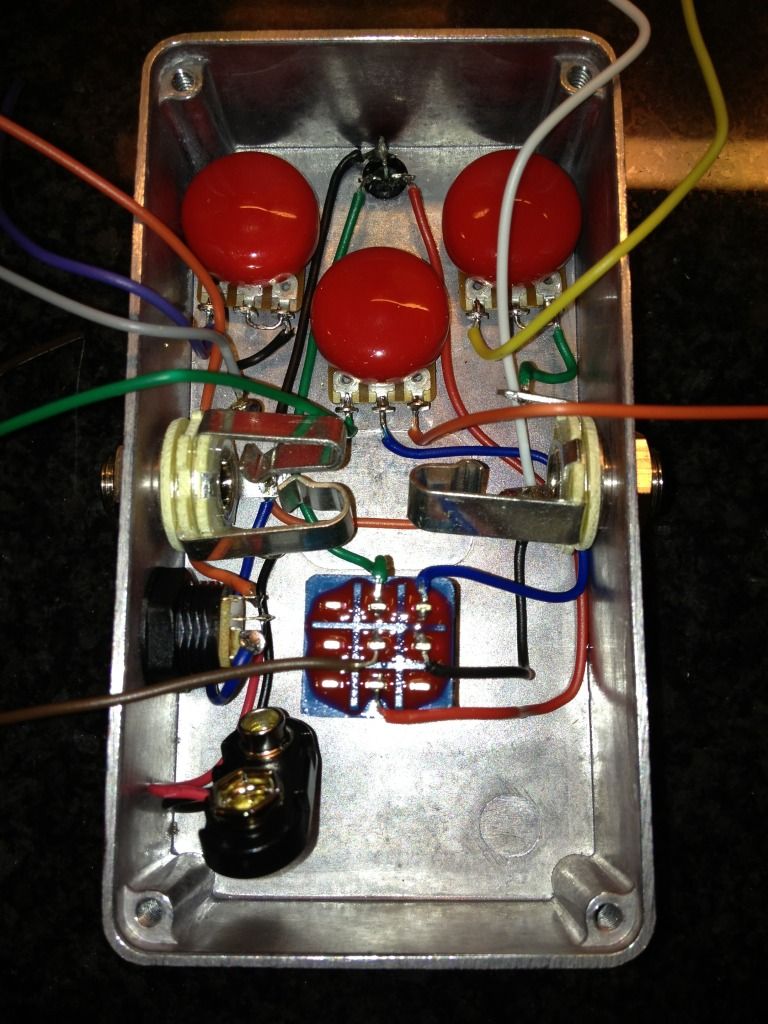
Just finished wiring my box up... :mrgreen:

Image

Re: Cherry Buster Build Thread

PostPosted: Wed Jan 02, 2013 9:08 pm
by mr. min t.fresh
Where did you get the pot condoms? I need some for my build sir :)

Many thanks
Gino

Re: Cherry Buster Build Thread

PostPosted: Wed Jan 02, 2013 9:41 pm
by cajone5
mr. min t.fresh wrote:Where did you get the pot condoms? I need some for my build sir :)

Many thanks
Gino


http://www.guitarpcb.com/apps/webstore/
Look there for black, purple and red

If you'd like clear I believe smallbear or mammoth (or both) carry those as well but they're a hard plastic snap on type.

Re: Cherry Buster Build Thread

PostPosted: Thu Jan 03, 2013 1:18 am
by thesjkexperience
Do we really need these? Wouldn't a layer or two of electrical tape do the same thing?

Re: Cherry Buster Build Thread

PostPosted: Thu Jan 03, 2013 2:41 am
by Gnash
thesjkexperience wrote:Do we really need these? Wouldn't a layer or two of electrical tape do the same thing?


Electrical tape will absolutely insulate the POTs if you tape 'em up right.

I've found that tape can degrade over a period of time though and through that experience I tend to avoid using it for any kind of permanent application. Another alternative is the anti-static insulating foam sheets that you usually find in your BJFe pedals. just wrap some around the board. If you don't glue or goop it it's very easy to remove if you ever want to mod or repair your circuit.

Re: Cherry Buster Build Thread

PostPosted: Thu Jan 03, 2013 2:46 am
by Gnash
ak47 wrote:Just finished wiring my box up... :mrgreen:

Image


Nice Box!! :pedallove

Let's see your board!!