Page 4 of 12

Re: Folk Boost

PostPosted: Sat Dec 17, 2011 2:07 pm
by mills
So... I could fire this on a breadboard but to be honest, its probably gonna sound like your guitar, only louder and maybe some more treble presence. Be a nice, simple, op-amp booster.

I also dont mind making a layout, but I tend to use perfboard rather than vero. Its lots of fun, and not super hard. If people are interested in trying that I'd fire a layout together with as much space as I can so its not too hard to make. The disclaimer is that I'm not a pro; it'll work but someone with more experience could likely point out how to improve it.

Re: parts, I use smallbear. slightly pricier, but not unreasonable and I find them easier than other suppliers. Also, Steve's always been great for service and providing good stuff that the average DIY'er needs. Pedal parts plus is good for drilled enclosure selection because I'm in an apartment and tend to avoid drilling.

In terms of function, I'd be inclined to keep it simple and not bother with a switchable buffer. Maybe a hard wired buffer, instead? Keeping strictly to Bjorns schematic and using a 5534 the buffer would add another IC and make it a bit more complex for a first build. The alternative is to use the similar 5532 and get a boost/buffer or just keep it easy and go with true bypass.

Its easy to let features creep in, but the less there is that can potentially go wrong the better for a first build. Everyone has different needs so I'd say simpler and talk about specific changes (tone control/etc) for your own build, and that way there's some discussion and learning.

I quite clearly can't provide a donnerbox and probably won't order/distribute parts. I'd make a parts list so you could order everything at smallbear if that helps though.
Re: Folk Boost

PostPosted: Sat Dec 17, 2011 9:28 pm
by cajone5
That sound great :thumbup:

And perf board is fine by me. If you're game you could draw up a perf board schematic for the boost and maybe one for the buffer as well. Then if people want to do just the boost they can do that or they can add the buffer on a second board.

Any one else want to chime in?

Re: Folk Boost

PostPosted: Sat Dec 17, 2011 11:44 pm
by mills
Yeah, I'll definately throw the layout up. Tested it and it works fine. I could do a layout for the buffer as well, but I doubt I'll have the time to build it to test any time soon (and I actually don't really need a boost/buffer right now).

Gotta tidy it up a bit first so someone other than me can read it though. Probly Sunday afternoon-ish.

Re: Folk Boost

PostPosted: Sun Dec 18, 2011 5:07 pm
by mills
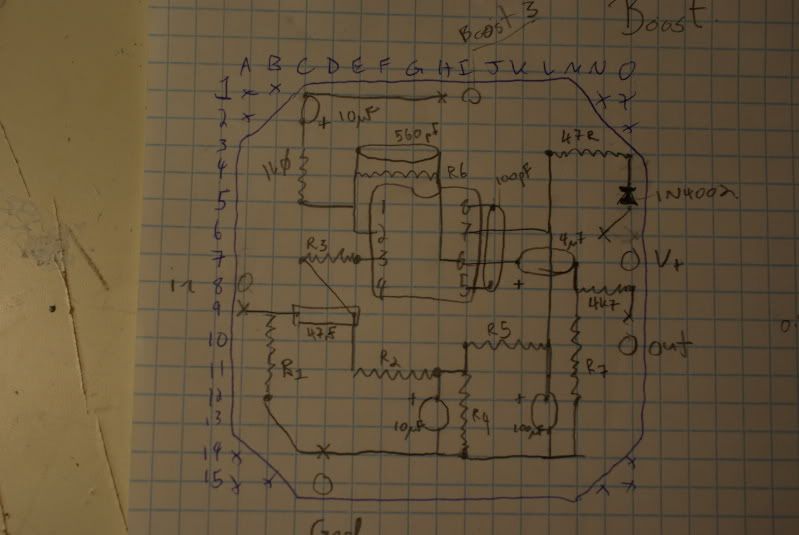
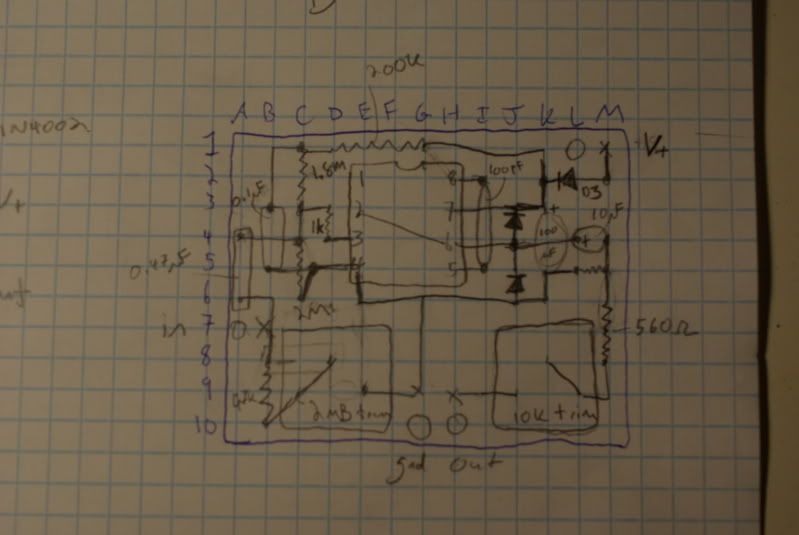
Well, two layouts here. First is the boost. Fits on a small perfboard from smallbear. It was more laid out to be open and easy than as small as possible. Buffer is a little tighter, so maybe start with the boost, and if you get it working try the buffer as an add on. Boost is verified, buffer isnt but should work. Both have plenty of room for personalization and the buffer could be much smaller with a little less circuit protection and fixed input/output impedance.

Image
There should be a connection between pin 4 of the IC and the ground at the bottom... Its easy to forget when building since there's no component connecting them. I apparantly even forgot it in the drawing.

Image

So, the squigly lines are resistors, open shapes capacitors, arrows diodes and the big square with a notch where the IC goes. an x is where a wire enters the board, and theres a circle beside each one to drill and pass the wire through (shown later).

A few tips while building... double check polarity on electrolytic capacitors and before soldering them. Don't clip any leads without being sure that they arent needed to run anywhere. Its way easier to not have to solder jumpers in place. Make sure you put the ne5534 into the socket before you test it. make the input, output, V+, and ground different colors to avoid confusion.

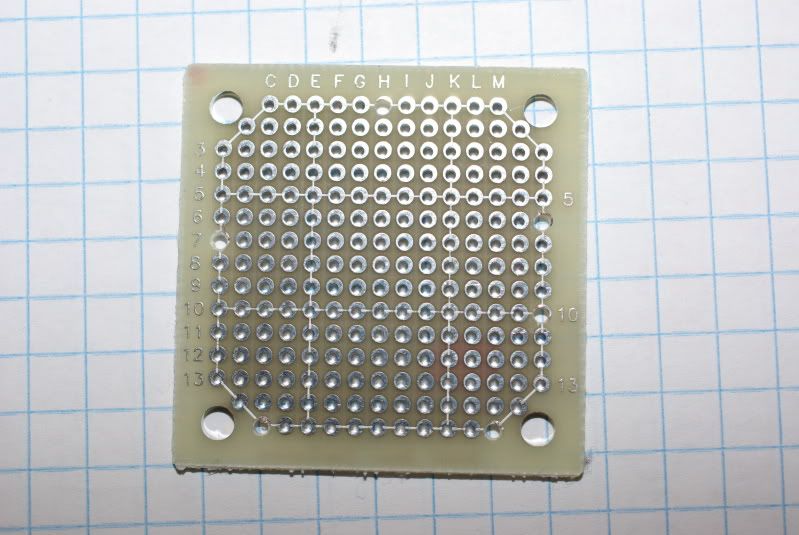
Otherwise, a quick walkthrough of how I perfboard. Not the only way, but it works for me.

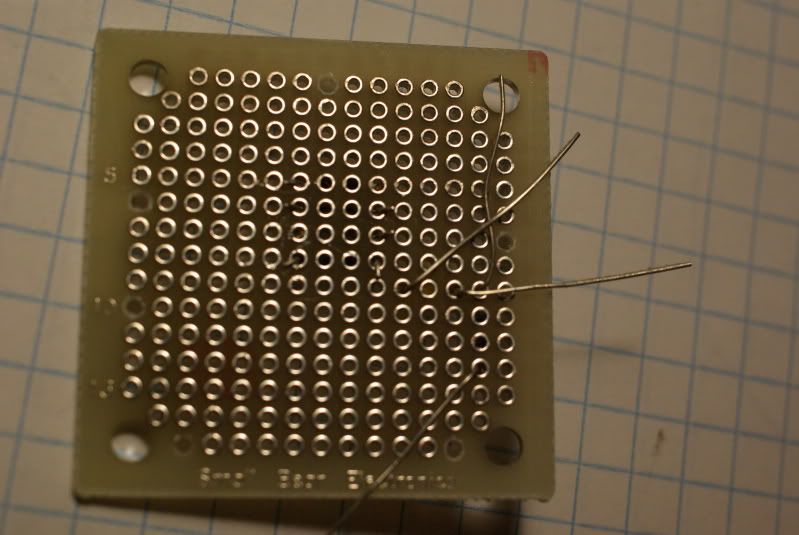
Drill the holes for wires. Makes them way less prone to breakage. (7A, 1H, etc)
Image

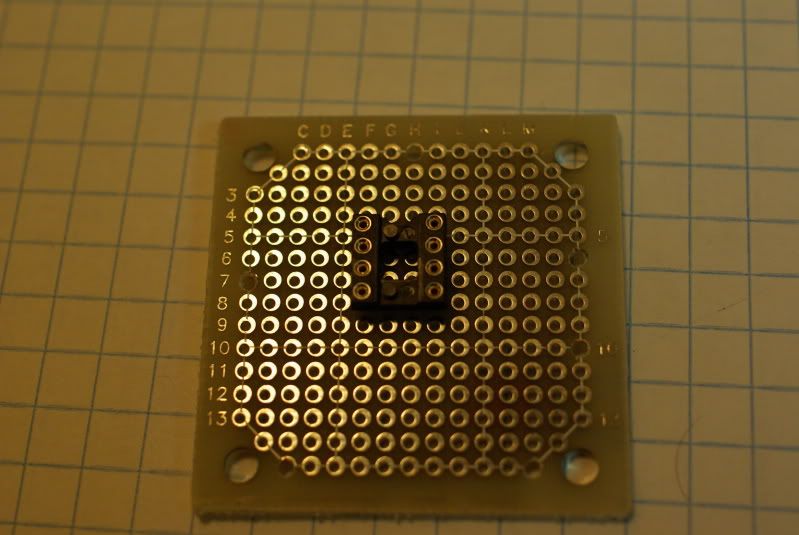
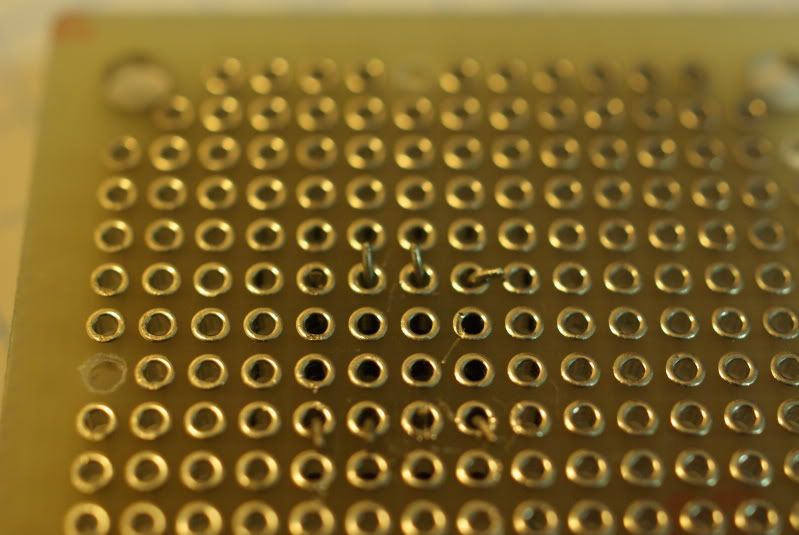
I add the socket next, then bend the pins in the direction they'll go. Snip any pins with no connection (pin1)
Image
Image

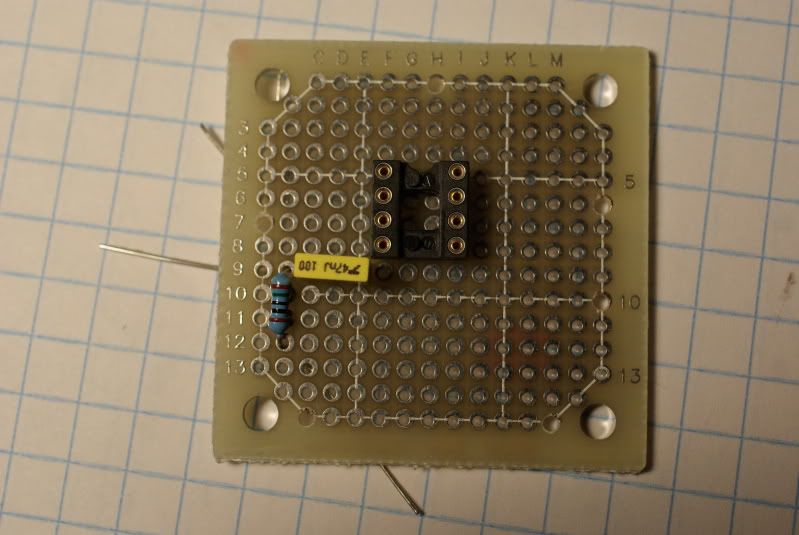
Then, one or two components at a time go in place.
Image

Leads are bent in the appropriate direction
Image

and soldered and trimmed if necessary.
Image

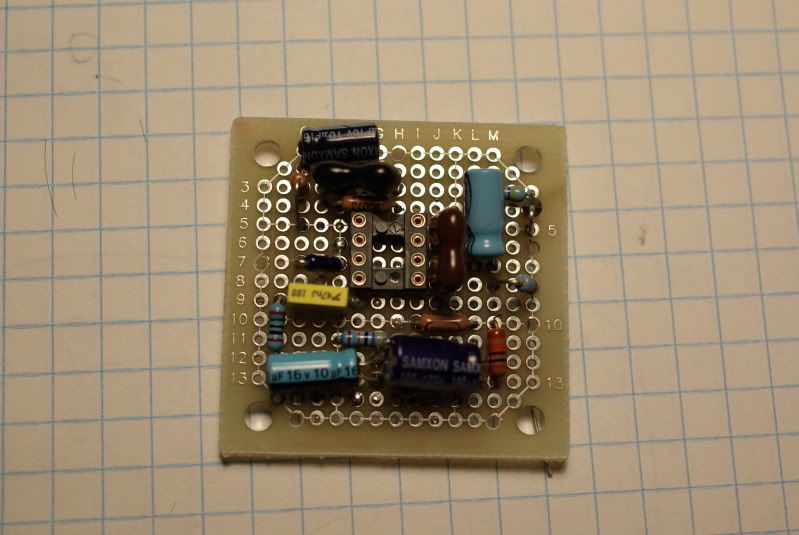
I tend to work more or less from left to right and input to output. Go slow and double check things and it comes together eventually.
Image
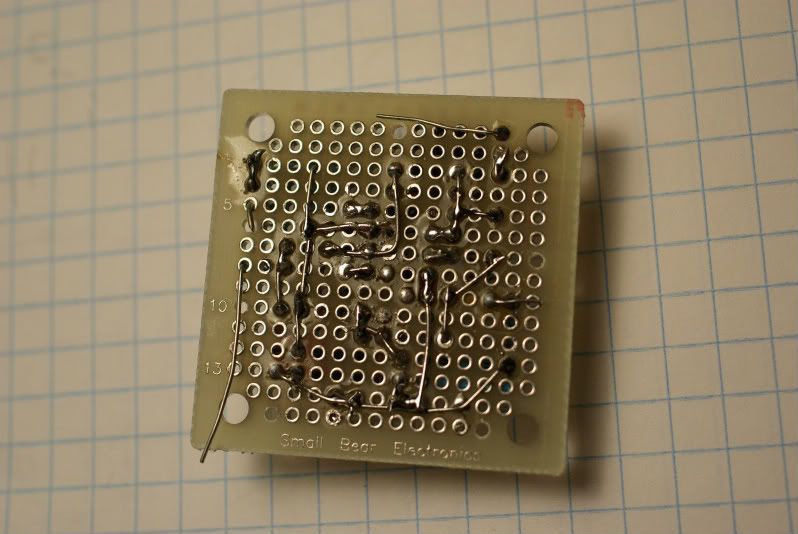
Image

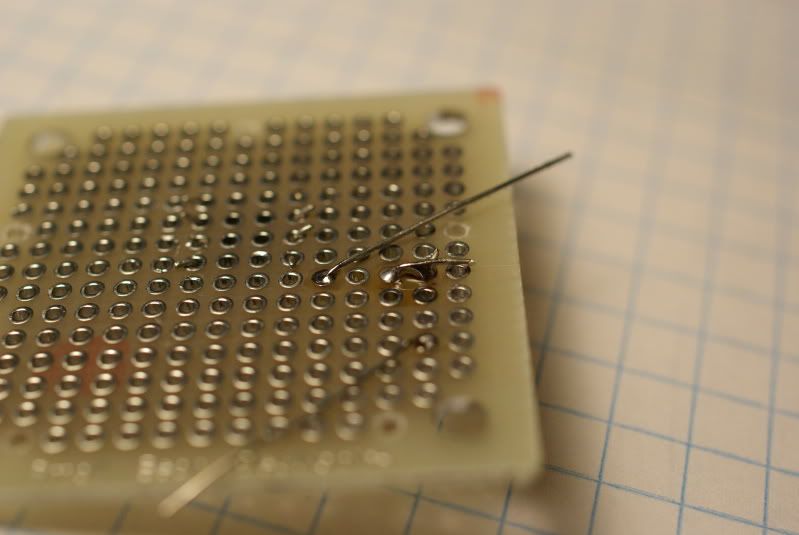
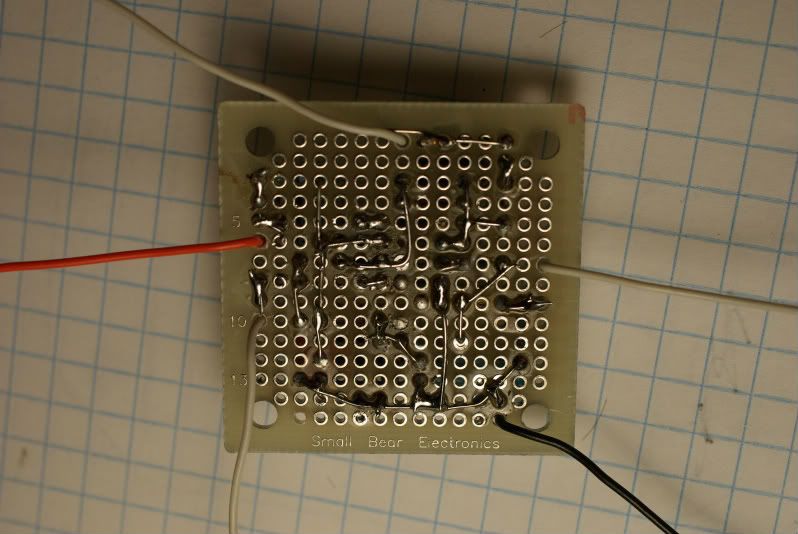
Doesnt have to be pretty, this one sure isnt. Last thing is to solder the external connections in place. I bend the wires through first. Make sure there's lots of excess length in the wires. if you want to trim them down later you can but thats easier than replacing them.
Image

I think thats a decent start. There's tons of information around for offboard wiring and switches/LEDs. I'll try to get fire a bill of materials up eventually.

Re: Folk Boost

PostPosted: Sun Dec 18, 2011 7:37 pm
by Joeleo
Wow man, this whole tutorial is excellent! For guys like me who have only experienced pcb's, this all gives me way more courage to tackle this project. You rock!

Re: Folk Boost

PostPosted: Sun Dec 18, 2011 9:16 pm
by mills
No problem. Perfing isnt too dificult if you take your time... although, expect a certain amount of frustration and debugging no matter how the project is built. Definately manageable for something like this and since I have zero pcb skills maybe a few people will try it if theres a tutorial!

One last suggestion is to walk through the layout with the schematic before building... helps see where the connections are and gives some ideas about routing for when you do your own layouts.

Also... I have a Bill of Materials, but no idea how to post a spreadsheet. If I can get it posted, definately check against the schematic as I could've easily missed something and it helps with understanding whats going on. It also doesn't include room for errors/mods so a few extras if its not super expensive might be worthwhile.

So, to everyone... good luck, happy building, and ask questions if you got 'em... Bjorn always posted these to encourage learning and discussion! I'm not a pro, but between everyone here I'm sure we can find an answer.

Re: Folk Boost

PostPosted: Mon Dec 19, 2011 11:19 am
by Joeleo
Here is a jpeg image of Chris's parts list.

Re: Folk Boost

PostPosted: Wed Jan 04, 2012 5:48 pm
by Seiche
Hulakatt wrote:Anyone know where to get a circuit board printed if we provide a design? I'll ask Madbean but don't really know where else I could ask.

dorkbot? there might be slightly cheaper alternatives, but their pcbs look great.

as for suppliers, Tayda Electronics is very cheap and reliable. for Europeans: musikding or banzai is where i get most of my stuff (other than tayda).

Re: Folk Boost

PostPosted: Thu Jan 12, 2012 12:35 pm
by cajone5
OK -- time to start sourcing parts -- hoping to do this in the next week or two :thumbup:

Anyone else give it a go yet?

Re: Folk Boost

PostPosted: Thu Jan 12, 2012 2:57 pm
by Your name here
Not yet... I've been really busy. Looking forward to seeing a few built, maybe some kits in the future...